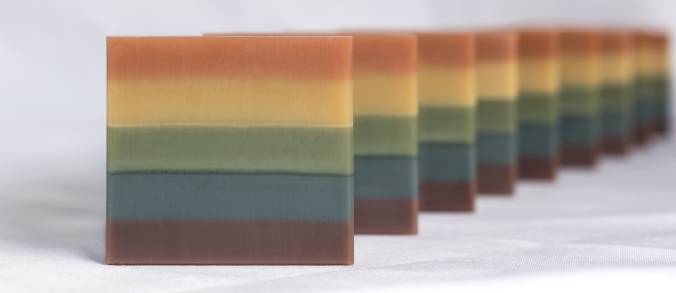
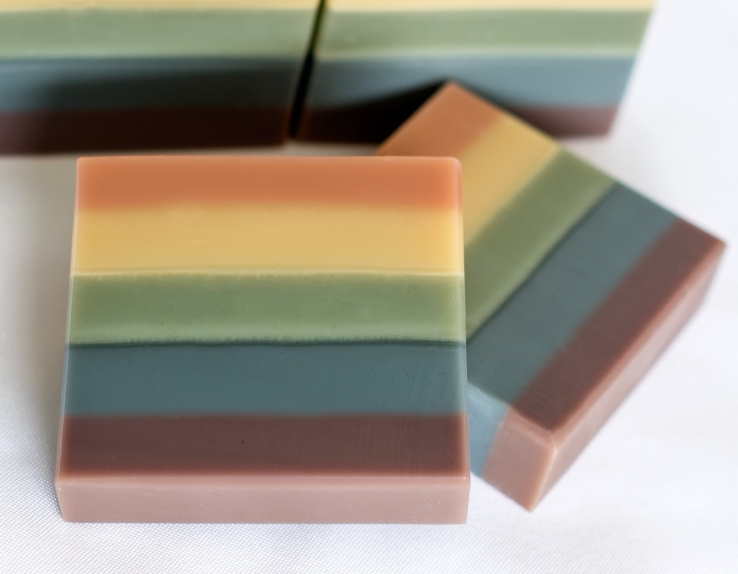
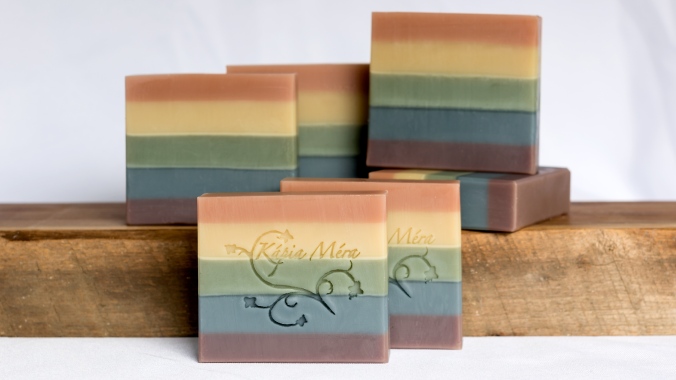
 I’ve always really enjoyed making a layered soap. It’s one of the first designs I learned as a new soap maker, and I love coming up with different color combinations. This cold snap we’ve had lately had me wanting to make something bright and cheerful that smelled of spring. So I made a rainbow layered soap using various clays, alkanet, and indigo. In the process of creating this soap, I came up with an essential oil blend that I absolutely love. I also put together a video on my whole process. If you’d like to see that or my new favorite essential oil blend, just keep reading. :)
Note: If you’re a beginner or want to learn more about soap making, check out these helpful videos:
Soap Queen TV – LYE SAFETY: http://goo.gl/FqA0Yt
Amanda Aaron of Lovin’ Soap – BEGINNER SERIES: http://goo.gl/DjTzuE
RECIPE
I’ve made layered soap using a lot of different recipes. No matter which recipe I use, I always try to blend just to emulsion or light trace so the soap stays fluid during the pour. I almost always use a recipe that will set up quickly though, so I can move on to the next layer as soon as possible. I cannot stand waiting on soap to set up. Yawn. ;)
With this layered soap, I divided my recipe up into 5 equal parts (oils & lye), then mixed and poured each layer separately.
Olive Oil – 33%
Coconut Oil – 25%
Shea Butter – 20%
Cocoa Butter – 8%
Avocado Oil – 7%
Castor Oil – 7%
Superfat – 5%
Lye – enter your recipe into a soap calculator like the one at Majestic Mountain Sage: http://goo.gl/7hH5Vw
Water – I used a 33% lye solution (water = 2 x lye)
COLORS
PURPLE – Alkanet Root Powder
Normally I would use alkanet infused oil here. But because Amy Warden’s method of dissolving indigo in oil has worked so well, I started trying it with all of my herbs and spices. I’ve had a lot of luck and am thrilled to avoid infusing large amounts of oil whenever I can. The trick with the alkanet (as with paprika and other herbs/spices that don’t really dissolve) is to allow the mixture to sit overnight, let the powder sink to the bottom, then use the colored oil on top. I still ended up with a few purple specks, but overall I was really pleased.
2 teaspoons dispersed in 1 tablespoon of sunflower oil
I used 2 teaspoons of the alkanet oil per cup of soap
BLUE – Indigo Root Powder
1/4 teaspoon dissolved in 1 tablespoon of sunflower oil – sit overnight (Amy Warden’s method)
I used 1/2 teaspoon of the indigo oil per cup of soap
GREEN – French Green Clay
4 teaspoons dispersed in distilled water (enough to make it fluid)
I used 2 teaspoons of the fluid green clay per cup of soap
Note – This green clay has a tendency to look like a yellowish pea green. Gel phase does help a bit. However, you can counter the yellow some and get a nicer green by adding a few drops of the indigo oil.
YELLOW – Yellow Brazilian Clay
1 tablespoon dispersed in distilled water
I used 1 teaspoon of the fluid yellow clay per cup of soap
PINK – Pink Kaolin Clay (Rose Clay)
1 tablespoon dispersed in distilled water
I used 2 teaspoons of the fluid pink clay per cup of soap
ESSENTIAL OIL BLEND
This blend is just a variation of another blend that I use all the time (Lavender & Bergamot). I decided to try adding some Lemon EO to brighten it up and boy did it ever. I just love how fresh this smells with a hint of floral from the lavender.
Lavender – 40%
Lemon – 30%
Bergamot – 20%
Patchouli – 10%
VIDEO
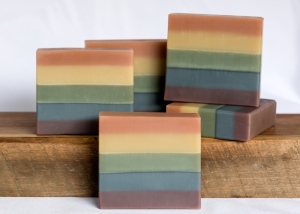
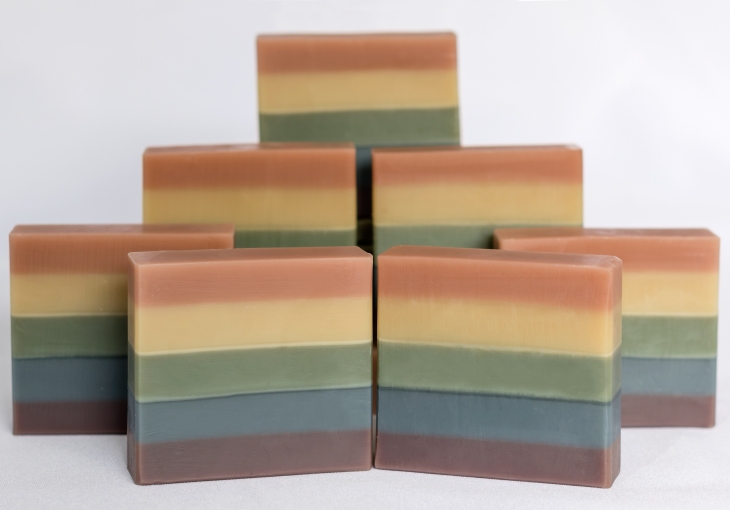
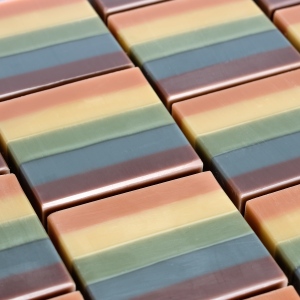
MORE PHOTOS
Thank you so much for reading my post!


Gracias Holly, por hacer unos jabones tan hermosos me sirven de inspiración.
LikeLiked by 1 person
You have done it again, Holly! Beautiful soap and during the perfect time of year, too! It sings of spring! :-) I wanted to watch the video, but it showed as being “disabled”. I hope that is just a temporary glitch – I would love to see the process. Thank you so much for sharing!
LikeLiked by 1 person
I went to reread something on the recipe and checked the video again while here and the video works now – yay! Watching it, well, it’s work! lol How do you make sure that the parts of the batter that come last don’t start getting too thick before you get to them? I read how you said to just bring it to emulsion or very light trace, but still… Also, getting the lye and oils to be around the same 85 degrees, that too seems like it requires a lot of vigilance. Fun soaps like what you made here are so much more work than it looks… More power to you – I very much appreciate what you do!
LikeLike
Thanks for watching! I mix each layer separately – so the lye is also divided and added as I do each layer instead of all at once. It was a long process! Thank you for your sweet comments! :) -Holly
LikeLike
Holly …. Your soap videos are the best!!…. however I’ve never used a lye calculator and I do not want to mess this up
Can you please give me the recipe in grams
I would be forever grateful!!
Also the weight of essential oils
Thank you from the bottom of my heart, Lynette Brady
LikeLike
Holly, I forget to specify…. I’m asking about the layered soap:)
LikeLike
Perfect for St. Patty’s day! Beautiful happy colors!
LikeLiked by 1 person
I love it <3 Beautiful colors !
Thank you for sharing the method, and the video :) and your favorite EO blend too !
LikeLike
Amazing that you’ve done this with all natural colours. I’m just starting to experiment with them (always loved my mica 😊) so this is really great to see. Thanks for sharing!
LikeLike